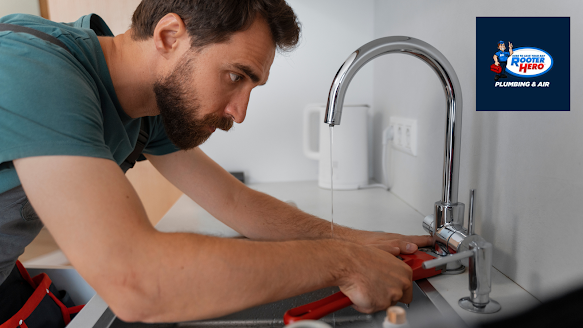
Are you tired of that constant, maddening drip, drip, drip of a leaking faucet? You're not alone! A dripping faucet is one of the most common household annoyances. In this comprehensive guide, we'll walk you through the step-by-step process of fixing a dripping faucet, saving you both water and money. Plus, if you're in Peoria and need plumbing assistance, Rooter Hero Plumbing & Air of Phoenix is your go-to expert for all things plumbing.
As plumbers in Peoria, we understand the frustration of dealing with a dripping faucet. It might seem like a minor issue, but the constant dripping can be irritating, not to mention the water waste and potential damage to your fixtures. The good news is that fixing a dripping faucet is a DIY project that's well within your reach, even if you're not a seasoned handyman. Let's get started!
 |
| How to Fix a Dripping Faucet: An Expert Guide |
What You'll Need
Before we dive into the repair process, let's gather the tools and materials you'll need:
Adjustable wrench
Screwdriver (both flathead and Phillips)
Replacement parts (usually available at hardware stores)
Old towel or rag
Now that you have your toolkit ready, let's go through the steps to fix that pesky dripping faucet.
Step 1: Turn Off the Water Supply
Safety is paramount. Begin by locating the shut-off valve beneath your sink and turning it clockwise (righty-tighty) to stop the water flow. If your sink doesn't have a dedicated shut-off valve, you may need to turn off the main water supply to your entire house. It's typically located in your basement or near the water meter.
Step 2: Plug the Drain
To avoid losing small parts and screws down the drain, it's a good idea to plug the sink. Simply place an old towel or rag in the sink's basin to catch anything that might fall during the repair process.
Step 3: Remove the Faucet Handle
Now let's get to work. Examine your faucet closely, and you'll likely find a small screw either on the side of the handle or beneath a decorative cap on top of the handle. Use the appropriate screwdriver to remove this screw. With the screw removed, gently lift the faucet handle. If it's stuck due to mineral buildup or time, you may need to wiggle it a bit to free it.
Step 4: Expose the Cartridge or Valve Stem
Underneath the handle, you'll find the heart of your faucet—the cartridge or valve stem. These components control the flow of water and are usually where the problem lies when dealing with a dripping faucet.
Step 5: Inspect and Replace Parts
Carefully inspect the cartridge or valve stem for signs of damage, wear, or corrosion. If you spot any issues, it's time for a replacement. To ensure you get the right replacement parts, take the old ones with you when you visit the hardware store.
Step 6: Reassemble the Faucet
With your new parts in hand, it's time to put everything back together. Begin by placing the replacement cartridge or valve stem where the old one was. Then, carefully reassemble the faucet, following the reverse order of the steps you took to disassemble it. Be cautious not to overtighten the screw on the handle; it should be snug but not overly tight to allow for smooth turning.
Step 7: Turn On the Water Supply
Now it's time to turn the water supply back on. Slowly open and close the faucet to check for any leaks. If you notice any dripping, you may need to tighten the components a bit more.
Step 8: Test and Fine-Tune
With the water supply restored, turn on the faucet and check for any remaining drips. If you still detect leaks, try tightening the handle a bit more. If the problem persists, you might need to replace the cartridge or valve stem again, ensuring it's properly seated.
Step 9: Enjoy a Drip-Free Faucet
Congratulations! You've successfully fixed your dripping faucet. Now you can enjoy the peace and quiet of a leak-free sink and the satisfaction of a DIY job well done.
When to Call in the Pros
While fixing a dripping faucet is a manageable DIY task, there are situations where it's best to leave it to the professionals. Consider calling in experts like Rooter Hero Plumbing & Air of Phoenix in the following scenarios:
Uncertainty: If you're unsure about any step in the repair process, it's wise to seek professional help to avoid potential complications.
Lack of Tools or Replacement Parts: If you don't have the necessary tools or replacement parts, a plumber can ensure the job is done correctly.
Unexpected Complications: Sometimes, what seems like a simple repair can reveal unexpected issues. Plumbers have the expertise to address these challenges effectively.
Persistent Leaks: If you've attempted the repair and the faucet continues to leak, it's time to call in the pros to diagnose and fix the underlying problem.
Conclusion
A dripping faucet might appear trivial, but it's an issue that deserves your attention. By following these step-by-step instructions, you can successfully fix a dripping faucet on your own. Remember, if you ever feel uncertain or the problem persists, don't hesitate to reach out to experienced plumbers in Peoria, such as Rooter Hero Plumbing & Air of Phoenix. We are reliable experts who can swiftly and effectively resolve any plumbing issue, ensuring your home stays dry and your faucets are drip-free. Happy fixing!
Comments
Post a Comment